Maintaining a comfortable and energy-efficient home often begins with attention to detail in areas that are frequently overlooked. Windows and doors are among the most common sources of air leaks that can cause drafts, increase heating and cooling costs, and decrease overall indoor comfort. Identifying these leaks is the first step toward making necessary improvements that protect your home from unwanted air infiltration. With careful inspection and the right techniques, it is possible to pinpoint exactly where air is escaping around your windows and doors and take effective measures to seal those gaps.
The challenge with tracking down air leaks lies in the fact that they are often subtle and not immediately obvious. A gentle breeze passing through an unnoticed crack can significantly impact your home’s climate control without drawing attention. The problem might be exacerbated during colder or hotter months when the temperature difference between the inside and outside of your home encourages air transfer. Checking windows and doors for air leaks regularly helps prevent energy waste and keeps your home environment cozy throughout the year.
A good starting point is a visual examination of all windows and doors. Carefully look around the edges and frames for any gaps, cracks, or worn-out weatherstripping. Over time, weatherstripping can deteriorate, leading to spaces where air can seep in or out. Look for signs of damage such as brittle, cracked, or missing seals, as these are common weaknesses. Also, inspect the window and door frames for cracks in the wood or warping which can compromise their ability to fit snugly within the wall openings.
Sometimes leaks are hidden behind the obvious structural parts of windows and doors. The casing and the gaps between the trim and the wall can be especially vulnerable if caulking has cracked or peeled away. Pay close attention to these areas, touching the surfaces to feel for any cold or warm air movement. Even if there is no visible gap, you might detect a slight draft by placing your hand near the seams. Reapplying caulk where it has degraded is a simple and inexpensive way to reduce air leakage.
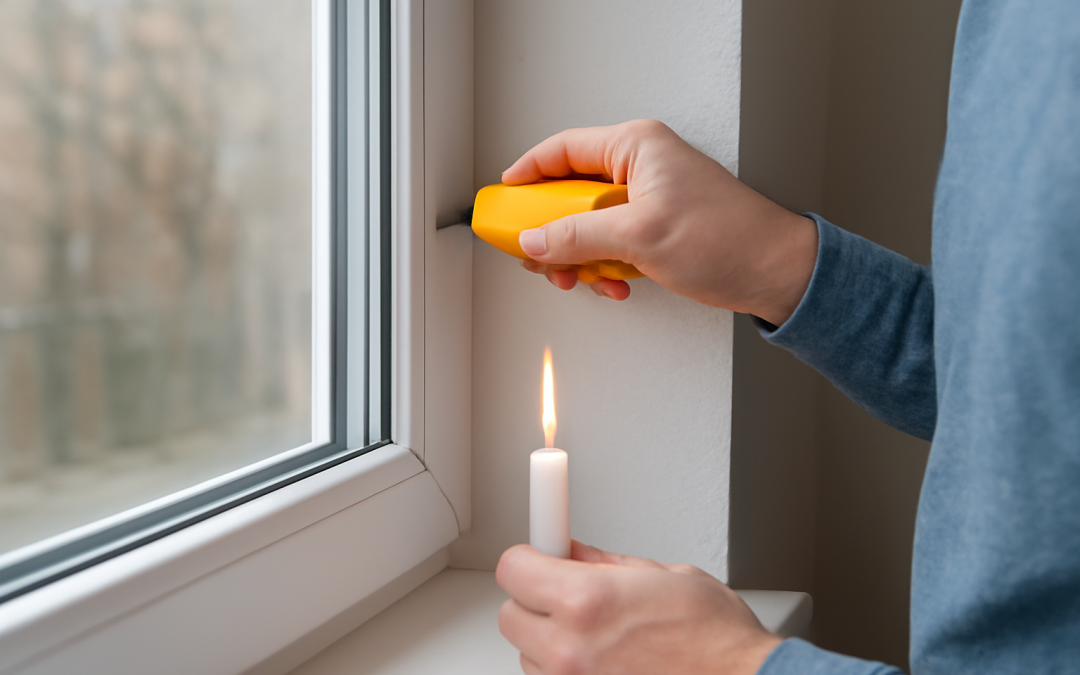
While a thorough visual check is valuable, it is often not sufficient on its own. Supplementing your inspection with tools designed to reveal leaks will increase accuracy. One of the simplest tools to use is a candle or incense stick. Lighting the candle and holding it around the edges of a window or door frame can help identify drafts by observing the direction of the smoke or flame. If the smoke wavers or the flame flickers noticeably, a leak is likely present. This method is inexpensive, immediate, and effective, especially when combined with a visual check.
Thermal imaging cameras offer a more sophisticated approach, often used by energy auditors and professionals. These cameras detect temperature differences by displaying a heat map, making air leaks stand out clearly. During cold weather, drafts appear as cooler areas around windows and doors, while in hot months, the effect is reversed. Thermal imaging provides a comprehensive view of where insulation or sealing may be inadequate. Although such devices can be expensive to purchase, they may be available for rent, or you can hire a professional to conduct an inspection.
Infrared thermometers are another tool homeowners can use to identify air leakage points. By scanning the perimeters of windows and doors, you can measure temperature variations that indicate cold drafts or warm air infiltration. The readings help focus your attention on specific locations that require sealing. Combining these methods with your visual and smoke tests enhances the thoroughness of your inspection.
It’s also helpful to conduct tests under conditions that accentuate potential leaks. Performing these checks on windy days or when the heating or cooling system is running maximizes the pressure difference that forces air through leaks. Standing inside the home and checking windows and doors against the wind direction allows you to sense or observe drafty areas more effectively. Turning off fans and HVAC units temporarily can reduce background air movement and allow you to isolate leaks more precisely.
Another effective method is the door test. Close all windows and doors in the house and turn on a smoke source inside, such as burning incense or using a smoke pen near the suspected area. Then, slightly open an exterior door and feel for movement or observe the smoke’s behavior near the seals. If the smoke swirls or gets pulled outside, it reveals air going through cracks. Repeating the process around various points improves the detection of leaks, especially around door edges and thresholds.
Similarly, the window test involves checking the tightness of window sashes and frames. Older windows, especially single-pane models, may have poor sealing due to age and settling. Try pressing on the windowsill or putting slight pressure on the frame to feel if it shifts or causes drafts. If the glass rattles or the window doesn’t close firmly, it’s a sign that sealing is compromised. Modern double or triple-paned windows tend to be more airtight but still require regular inspection, particularly at the joints and where the frame meets the wall.
Once leaks are identified, the next step is determining whether simple DIY repairs are sufficient or if professional assistance is needed. Small, localized leaks can often be addressed by applying weatherstripping, caulking gaps, or installing door sweeps. However, larger structural issues such as warped frames, rotted wood, or damaged seals may require repair or replacement by experts. Identifying the exact cause and location of each leak saves time and money by focusing efforts where they are most effective.
Window air leaks often occur around the edges where the window frame meets the rough opening in the wall. Pay particular attention to the joint where the sill meets the side jamb, a common entry point for air. If gaps are found, consider using expandable foam sealant to fill irregular spaces, followed by a bead of exterior-grade caulk to ensure a tight seal and prevent water intrusion. Be mindful to use products designed for exterior use to withstand weather exposure.
Door air leaks are commonly found under the door, around the doorframe, and between the door slab and the frame. Installing or replacing a door sweep at the bottom of the door is a quick way to eliminate drafts entering from beneath. Similarly, adding or renewing weatherstripping around the sides and top of the door improves the seal when the door is closed. These simple modifications are cost-effective and contribute significantly to energy savings and indoor comfort.
In homes with older doors or windows that are fundamentally poor fits, upgrading to energy-efficient models may be necessary. Modern windows and doors designed with tight seals and advanced insulation materials greatly reduce air infiltration. While replacement is a more significant investment, it often results in greater savings on energy bills, improved comfort, and increased home value. Before deciding, carefully assess whether the extent of leaks and the condition of existing units justify the cost.
After addressing visible leaks, it is beneficial to understand the cumulative impact of minor gaps and cracks throughout your home. Often, small leaks may be inconspicuous individually, but together they contribute substantially to heat loss or gain. Regularly testing windows and doors helps maintain an overall airtight envelope. Establishing a routine maintenance schedule, particularly before seasonal changes, ensures ongoing efficiency and minimizes unexpected drafts.
Certain preventative maintenance tasks go beyond simple sealing. For instance, keeping door thresholds and window tracks clean and free of debris allows closures to sit flush and seal better. Paint and weatherstripping can deteriorate due to exposure to sun, rain, snow, and temperature fluctuations, so routinely inspect and replace worn components. Addressing moisture damage promptly also prevents warping or swelling that undermines a tight seal.
Energy efficiency in homes is not only about reducing costs but also about increasing sustainability and reducing environmental impact. Reducing air leaks around windows and doors decreases the workload on heating and cooling systems. This, in turn, lowers energy consumption and carbon emissions. Recognizing air leaks and resolving them contributes to greener living and enhances home resilience during extreme weather conditions.
Another aspect to consider is the indoor air quality and comfort level improvements that come with sealing leaks. Drafts can cause uncomfortable spots, fluctuating temperatures, and allow dust, pollen, and insects to enter. By minimizing air leakage, you improve not only thermal comfort but also reduce allergens and outdoor pollutants from infiltrating the living spaces. Sealing windows and doors creates a healthier environment for occupants.
In summary, thoroughly checking windows and doors for air leaks requires a combination of keen observation, purposeful testing, and the use of simple tools or advanced equipment. Understanding where and how air infiltrates your home empowers you to take corrective measures, whether through minor repairs or installing new components. The investment in time and effort to locate and fix air leaks pays off through improved comfort, reduced energy bills, and a more sustainable living space.
Remaining vigilant about the conditions of your windows and doors over time ensures that your home maintains its protective envelope. As materials age and weather exposure accumulates, routine inspections and maintenance prevent small issues from becoming larger problems. Weatherproofing your home begins with identifying invisible leaks and ends with sealing them firmly to create a lasting barrier against unwanted air exchange. By doing so, you create a sanctuary from the elements that supports wellbeing and efficiency for years to come.